All my drill bits were either setting loose or in the containers they came. I decided I didn't want to build a case, but a tray I can move to the bench when I need to use them. Also, I wanted to add magnets to lessen the chance of losing bits when the tray is dropped or jarred.
The cabinet I use can hold a tray of 11 inches deep. I laid my bits on some 8 1/2 by 11 paper to see how wide I needed the tray.
I had some 1/4 plywood lying around. I cut it to size, and then cut some strips about 3/4 of an inch wide to make the dividers.
I set the bits on the plywood and drew in where I wanted the dividers.
I got some rare earth magnets from Harbor Freight. After marking where I wanted them, I drilled holes in the plywood just deep enough for the magnets. TIP: use twice as many magnets as I did.
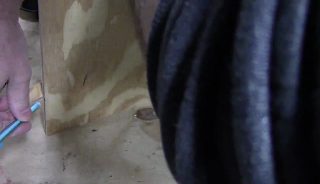
I marked the end of each divider line on the sides so I could redraw after adding the veneer.
A single piece of veneer would be better here, but I did not have any. I just used about 15 strips of iron on edge banding. I had to sand the adhesive residue that came up when butting the banding together.
After redrawing the dividers on the banding, I held the divider that crosses diagonally on the base and marked the angle I needed for cutting.
I matched the angle on the table saw and cut.
I attached both side dividers and cut the diagonal divider to length at the same angle. I glued it down, along with the top and bottom dividers.
Then I cut several pieces to the same angle for the other dividers. I cut them to length with a miter box and glued them in place.
I painted the tray red.
I should have used more magnets, but this tray should be OK under normal circumstances.


No comments:
Post a Comment